Monday, April 26, 2010

Cutting a 3.5" > 3.0" Silicone Bimmerwold Boot for Eurosport CAI


I had to put the anticipation of the added power behind me and cut the silcone boot the proper way. I was already rushing things and started to just eyeball it with an x-acto knife. I knew being tired, rushing things, eyeballing, never really works out so I took a break, went inside cleaned up and figured out how I was going to cut the boot.

So here is the heat-shield, cone and connector setup with the stock accordion intake tube as a mockup. The No-Toil oil on the ITG filter doesn't come off easily so I wrapped it in a plastic bag. I measured, from the end of the stock intake tube, how much additional tube would be needed to put everything in the best position. I felt like I needed about 3/4" more than the stock tube length.

With both of the boots lined up as best as possible, I wrapped tape around the bw boot so I could see what I was doing and made a mark 3/4" further from the end of the stock boot. From that mark it was an additional 1.25" to the end of the Silicone boot. I needed to cut this excess off.

I then made tick marks around the boot measuring 1.25" every inch or so. This would insure that the cut would be straight given the end of the boot was cut square.

I then lined up all the tick marks with a hose clamp to use as a guide to place the x-acto knife against.

Next up make the cut with an x-acto knife following the edge of the hose clamp. I ended up finding the other end of that knife to cut the boot. Works much better than just the blade. ;) Obviously new and sharp is going to work better.


And here's the finished product! As long as the end was cut square you should be able to cut it just as well by measuring the correct distance all the way around and using something to guide your cut. The more you cut off the end though, the less of a 3.5" opening you're going to have in the end. I had to stretch mine a lot having cut that much off the boot.

Here's how it looks in the engine bay. I had to move the charcoal canister down as it was pushing the intake boot up. I put a bolt through the top hole on the charcoal canister into the bottom hole on the bracket. I used a 1/2 inch aluminum spacer to straighten things out. The CC is only held on by one bolt now, but it will hold and the boot isn't shooting into the sky like I've seen on some other cars.


update:One thing I noticed after installing the boot is that the end that attaches to the throttle body could be shaved off about 1/4". When pushed all the way on there it almost interferes with the throttle spring.

Sunday, April 25, 2010

Valve Cover gasket, Valve Cover, Plugs, Injectors, Intake, Chip!


Mileage: 139,300

The compilation of many parts has come together to finally go on the ride. I've spent the past couple months putting together a, "stage 2," kit for much less than Turner is asking. I subsituted the 24# injectors for 21.5. Stock s50 is 17#. I felt like 24 was just to high with stock cams and bottom end. My setup consists of:

Eurosport Cold Air Intake for 3.5" HFM w/ ITG Cone Style Filter (BFC used)
3.5" Euro M3 HFM (Bosch Part # 806 ebay.de)
21.5# Injectors (cleaned)
Bimmerworld Silicone 3.5">3.0" Intake Boot (New)
TMS OBD I Chip for listed mods (4131-3009)

In addition to the intake, injectors and chip, I also decided now would be a good time to put on the new valve cover, replace the valve cover gasket and do the spark plugs.


First things first I cleaned up the Eurosport CAI kit I got off BFC for $250. I felt it was pretty good deal considering it's about $400. The ITG filter was well taken care of and not disintegrating like a neglected one. Those alone are a bill. The heat shield was practically new and the CF tube cleaned up nicely as well. Overall I was happy with the purchase, as well as, build and craftsmanship of the Eurosport products. Up next, Twin Screw!


I used the "No-Toil," oil cleaner which worked like a charm. As you can see the filter was pretty nasty, but the oil released all the dirt. After the filter was clean I sprayed it down with some No-Toil Oil to keep it in good condition. I followed the instructions and saturated the thing. Maybe a little bit too much, but I just dabbed off the excess with a clean paper towel.


After that was done I prepped the valve cover to go on the car. The powder coating had crept onto the lower edge of the mating surface during the plating making a little raised edge. Since I was doing all this to fix an oil leak, I wanted to make sure the mating surface was flat and clean.


I took a little sanding block (9V battery :D) and some 180 to the mating surface. The coating is thicker and electro plated or something so nothing chipped off while I was sanding it like maybe a painted surface would. Durability was one of my main goals of getting the cover powder coated vs. painting it.


I also cleaned up the nasty baffle cover with some denatured alcohol. I clean everything with that. It's safe on plastics and breaks down oil pretty easily. For awhile I was just using Purple Power on everything but it ruined a few metal pieces and ate some plastic. So it's a little too harsh for "everything."


And here is the gangster cover one more time before it goes on the engine. I blew the cover clean with compressed air and, yes, that is a Lynard Skynard beach towel.


I started on the passenger side of the engine bay and worked my way over. I'm not going to go into much of the DIY of the VCG and plug replacement as it is covered pretty well in these Pelican tutorials.


I took the decretive "M Power," covers off to reveal the coil packs. I could've replaced these as well, but the wallet is only so full. One of the things that the Pelican article doesn't mention is that some s50 motors came with only one ground strap. After reading the DIY and noticing I only had one ground strap I consulted the forum. It looks like a couple other people verified that their s50 motors only had one ground. There was a marking on the coil pack where the ground was mated and no other marks on any other coil packs so I don't think it was a case of the PO losing it.


I guess I could have replaced the plugs with the cover still on, but I removed them next. After much a debate on plugs, coppers won my vote and are only about $2. I decided to run copper NGK BKR6E. OE search resulted in the 4 prong Bosch platinums which I haven't heard many good things about. It sounded like the track guys ran coppers and the, "I have to buy everything expensive because I have a BMW and buying expensive things makes me feel like I've spent my money on the right thing just because it's expensive," guys bought iridiums.


Conclusion was that a copper element preformed at a more consistent temperature and provided the same if not better performance than more expensive metals. The only possible down side is the higher interval change. The interval for changing them is around 15-20k miles, but honestly I would change any plugs at a minimum of 20k miles even if they were rated to last longer just because I'm that way, and at $2 a piece, you can.

Here's a pic of the old plugs. BKR6EK. I'm not a plug analist, but there was some old on the ends. The tips weren't fouled but the threads were oily. Hopefully it is just oil coming in from the valve cover gasket leaking. It definitely doesn't look like anything is running lean, which is good.

After the plugs were torqued down to 18ftlbs, I applied some high-temp RTV gasket sealer to the areas suggested.


I then laid the VCG down.


Here is my addition to the Pelican valve cover gasket DIY.

Make absolutely sure that the little tabs on the back of the gasket on the semi-circles are mounted on the side of the head and not folded under. The gaskets come shrink wrapped and bent up, and it's easy to just put the gasket down without noticing those little tabs. I did this, got everything done, started it up, drove it around and started to smell my oil burning oil worse than before. There was even a little smoke coming in from the vents. I took a look behind the head and noticed a splatter of oil. I looked at the old gasket, put two and two together, opened it back up and noticed both tabs on the semi-circles were folded down and under preventing a seal. Fixed it up and it sealed fine. I was able to reuse the gasket.

Next up, Injectors. All nice and cleaned up by Osidetigerfics, ready to go in! I don't suggest just replacing the o-rings and pintle caps of some old injectors unless it's a budget build. Injectors get clogged after 15-20 years of use and it's a great performance gain just to clean your stock ones.


There isn't much to know about injectors if you've replaced them on a BMW before, but here is another write-up on Pelican.


I removed the clips and connectors when I moved the harness out of the way for the VCG install. I didn't want to get fuel everywhere so I didn't remove the fuel rail. Also the last time I removed some hose clamps which had found a nice 15 year home on a rubber fuel hose, it resulted in a fuel leak when trying to clamp the old hose back down. I wasn't going to replace any fuel hoses today so I was able to pop it out enough to swap in the injectors one by one.


Also Pelican says the injectors can come free from the manifold or fuel rail, but it's best just to keep them clipped on the fuel rail and pull them from the manifold. Mine actually didn't put up much of a fight and were easier to remove than those from e30s. Only thing is the pintle caps got totally destroyed as I pulled the injectors out. I didn't even notice if I cracked them or where they went, but one was definitely mia.

Ok....
Valve Cover, check
Injectors, check

Intake....

Alright, so I totally underestimated the intake. I figured, it's an intake. This will take about 5 seconds. Weelllllll, there isn't much room in there and a lot of time was spent mocking things up and getting it, "just right." I'm going to continue the intake installation with Bimmerworld boot in a separate post.

Here is the finished installation of the intake and valve cover. I can't get the valve cover to photograph correctly without blowing out, but I think it looks the business. Now I just have to keep it clean.

After the intake and everything was buttoned up, the last thing I had to do was swap out the stock chip for the Turner chip in the DME. Pelican has also covered this in a DIY. Most chip suppliers will send you instructions unless you pick one up used of course.


The DME is located under the windshield on the passenger side of the engine bay. I removed it and took it inside. Remove the tabs on the back of housing, popped out the old chip with the white "H" covering and installed the new one in the correct direction.

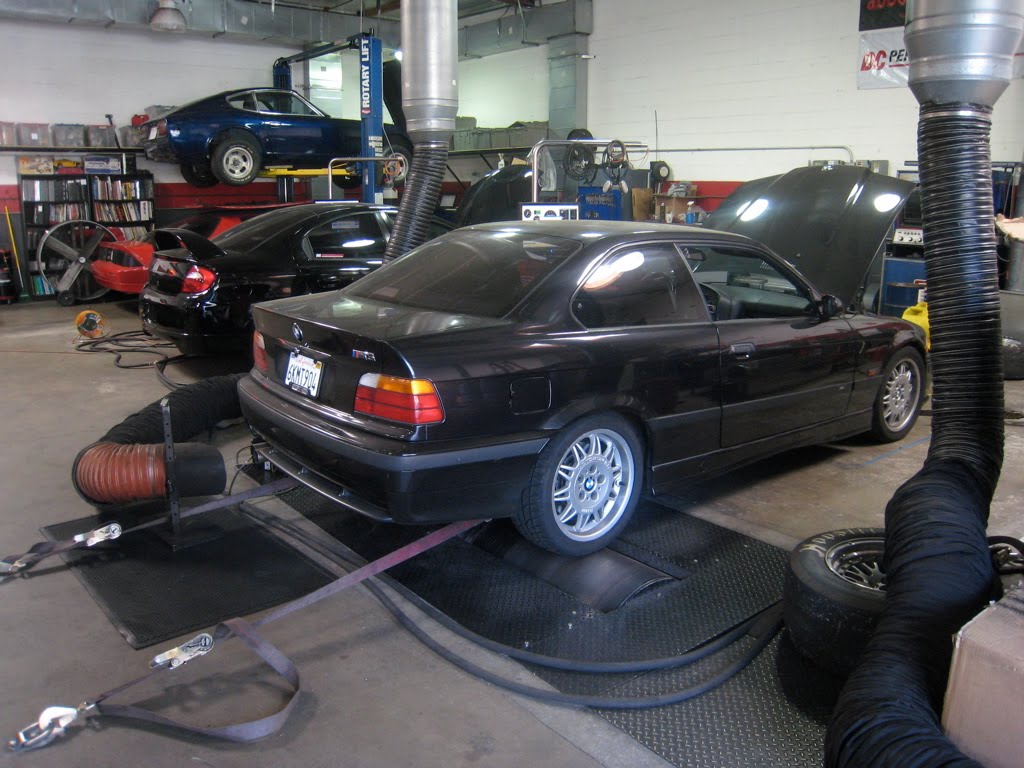
I put the DME back in it's little home, connected the battery and fired it up. It took a few trys to get the fuel through the injectors. I had pulled the fuel pump relay prior to drain as much fuel as possible. Once it started up I noticed a much smoother idle. I took it around the block and on to the freeway and Man, it was quite a difference! You always here that from people, but seriously it's like a different car now. I'm very happy with the outcome. Next stop is going to be the dyno to see what these mods are putting down!

Thursday, April 22, 2010

Fuel Injector Cleaning from Osidetiger FICS

I picked up a set of pink 2.15# injectors off of bfc for pretty cheap and decided to have them cleaned. I felt like I was having injector problems and the last thing I wanted to do was throw in some old injectors from some mystery garage floor.

I checked out RC and Osidetiger FICS. It seemed like the same thing. Clean them up and print me out a sheet of before and after. Only RC charged $24/injector and OSFICs only charged $18/injector. Plus they were in San Bernardino and got the injectors back to me within 2 days.

Here's a picture of the injectors I got off the forum. The seller said they had 90k miles on them. Oh well who cares, who knows. I was going to send them off to be sure.

One of the benefits of OSFICS was the polishing! Check out those bad boys! They came in a vacuum sealed package. I opened them up the following week when I installed them.


They did the cleaning service and replaced the basket filters, o-rings, snap ring and pintle caps. The pintle caps are the "BMW" finned style so no need to worry there.

The print out is a nice piece of reassurance. I guess a couple of the injectors preformed at "poor" or "average." This was good to see the before and after results of the cleaning. Overall I was pleased and would do it again.


*After installing the injectors I noticed some idle and drivability issues have resolved. Also at idle every 3 seconds the motor would quickly "puff." The exhaust would change slightly like a small interruption. This is gone now and I blame a leaky injector.

Thursday, April 8, 2010

Powder Coating Valve Cover Action


So one of the potential areas that is causing the oil leak is the valve cover gasket. Before replacing it I decided to take care of the nasty beige paint that is flaking off. I purchased a used m50/s50 Vanos cover off of BFC and got to work.


I took it to Steve's Plating in Sun Valley to get it cleaned up and powder coated. I had gotten quotes from $150-$225, but I found a guy, Chris, at Steve's Plating who said he would clean it up and coat it for $75.

A lot of the price was just cleaning up the old junk and sand blasting it. In hind site I would probably take care of that myself next time as the finished job is only as good as the prep.

When I got to Steve's, Chris told me he would have to charge me $100 after seeing the cover. He said he was imagining something more like a v8 valve cover. I said ok and he set off to clean it. After he got done baking the old oil off and sandblasting it, he called me in to take a look at the casting.

It appeared that BMW did a pretty shotty job on the cast. There was lots of pitting and just plain bad collecting of metal as if it were pushed around while it was cooling. He said he didn't want to just coat over that and I appreciated the concern. Some places might have just said Fuck it.


We took the cover in the back and had one of the sander take a pneumatic disc sander to the nose cone. After a few passes the metal really started to look nice. Like I said, I would do the prep work myself in the future. I'm sure that $225 guy included stuff like this. Chris just did because he was a "nice guy."


I picked the cover up and was pretty satisfied. It wasn't perfect but it was pretty good for the price and all the work he put into it. There was one little problem area on the front lower area that didn't get powder but you can't see it unless you're looking for it. It left a little brown mark which I touched up with some paint. I think if you brought something to him perfect ready to go and explained to him that it had to be perfect he could probably knock it out for a good price. His price had a lot to do with just cleaning it up.

Before


After!


I will probably return but with a more prepped part next time.

Steve's Plating Corporation

3111 North San Fernando Boulevard
Burbank, CA 91504-2527
(818) 842-2184

Friday, April 2, 2010

Basline Dyno Tune at DC Performance in West LA 204hp 197tq (Stock)


I took my car to DC Performance today for a dyno tune. They're located in a little pocket in west LA right near the 10 and 405. Tony gave me the best price of 2 dyno tunes for $125 paid up front. I could use the other one at anytime in the future. Their regular rate is $75 for 3 pulls. My goal was to get some baseline numbers of the car in stock form and then come back after I added a few mods. I have essentially a Turner Stage 2 kit and I'm curious just really what it will put down.

I only briefly looked at the website so I didn't really know what to expect. When I got there it was evident they are a pretty Viper heavy shop. They also do a lot with VW/Audi and Mercedes though Unitronic tuning. Tony and Chris, who ran the dyno, were both enthusiastic about working with BMWs so it was not a shop concerned on only certain brands. I'm pretty sure they will work with just about any car as long as it involves tuning.


They had a chalk board showing some of the dyno leaders.....I didn't make the board.

Chris, the dyno tech, hooked everything up and took the car through three pulls. It was 65˚ and 31% Humidity resulting in a 0.97 SAE correction factor. I'm no dyno plot reader extraordinaire, but it feels better to know the numbers were corrected down and not up.


Best run out of the three resulted in 204HP and 197TQ. With 18% loss at the wheels I'm still putting out 240 crank with 138k miles! I'm totally happy with that. Chris mentioned that it was looking a little lean toward redline which isn't great. He suggested an old fuel pump could be the problem. I haven't looked into this to know if it's common with BMWs or the s50 to lean out up top yet. My plan is to run some freshly cleaned and tested 21.5# injectors with a TMS chip which will most likely change things up in the air/fuel department. We'll have to see if it's still lean up top after the intake, HFM, chip and injectors.

Here's a video of one of the pulls. It was much louder and cooler in person. Overall I was happy with my experience at DC Performance. The shop was clean and everyone was helpful and polite. Plus I don't think you can beat $62.50 for 3 pulls on a dynojet.


DC Performance, Inc3370 South Livonia Ave.Los Angeles, CA 90034310.841.6996