
So all of this transformation would be for nothing if there weren't some decent coilovers going in. I found a set of TCK single adjustables that didn't break the bank. I kept with the behive style rear TC Kline springs at a rate of 500lbs. I found some Hyperco 60mm 450lbs for the front. More on that later.

I also picked up some aerospace grade brake duct tubing from another racer. Specing this stuff is pretty hard. I looked at aerospace websites, racing sites, they all want $10/ft for this stuff. It's not cheap. I also wanted to put little flanges on the fender liners for that super clean look. Also if you ever remove the bumper you can keep the ducts hooked up. The backing plates are turner replicas from GruvenParts. Cheapest place BY FAR for these things. $89 a piece. They have the hose and flanges there as well for a decent price.


Let's get started with the brakes. Getting the backing plate off is a pain in the ass. Not easy. Super annoying.

I enlisted the help of a $10 air tool from Harbor Freight. Did the trick.

I left the ABS ring open. I didn't have the patience to cut around the dust boot and keep a little pocket for the ring. I asked a few racers and they didn't really even flinch just said ditch the whole thing.

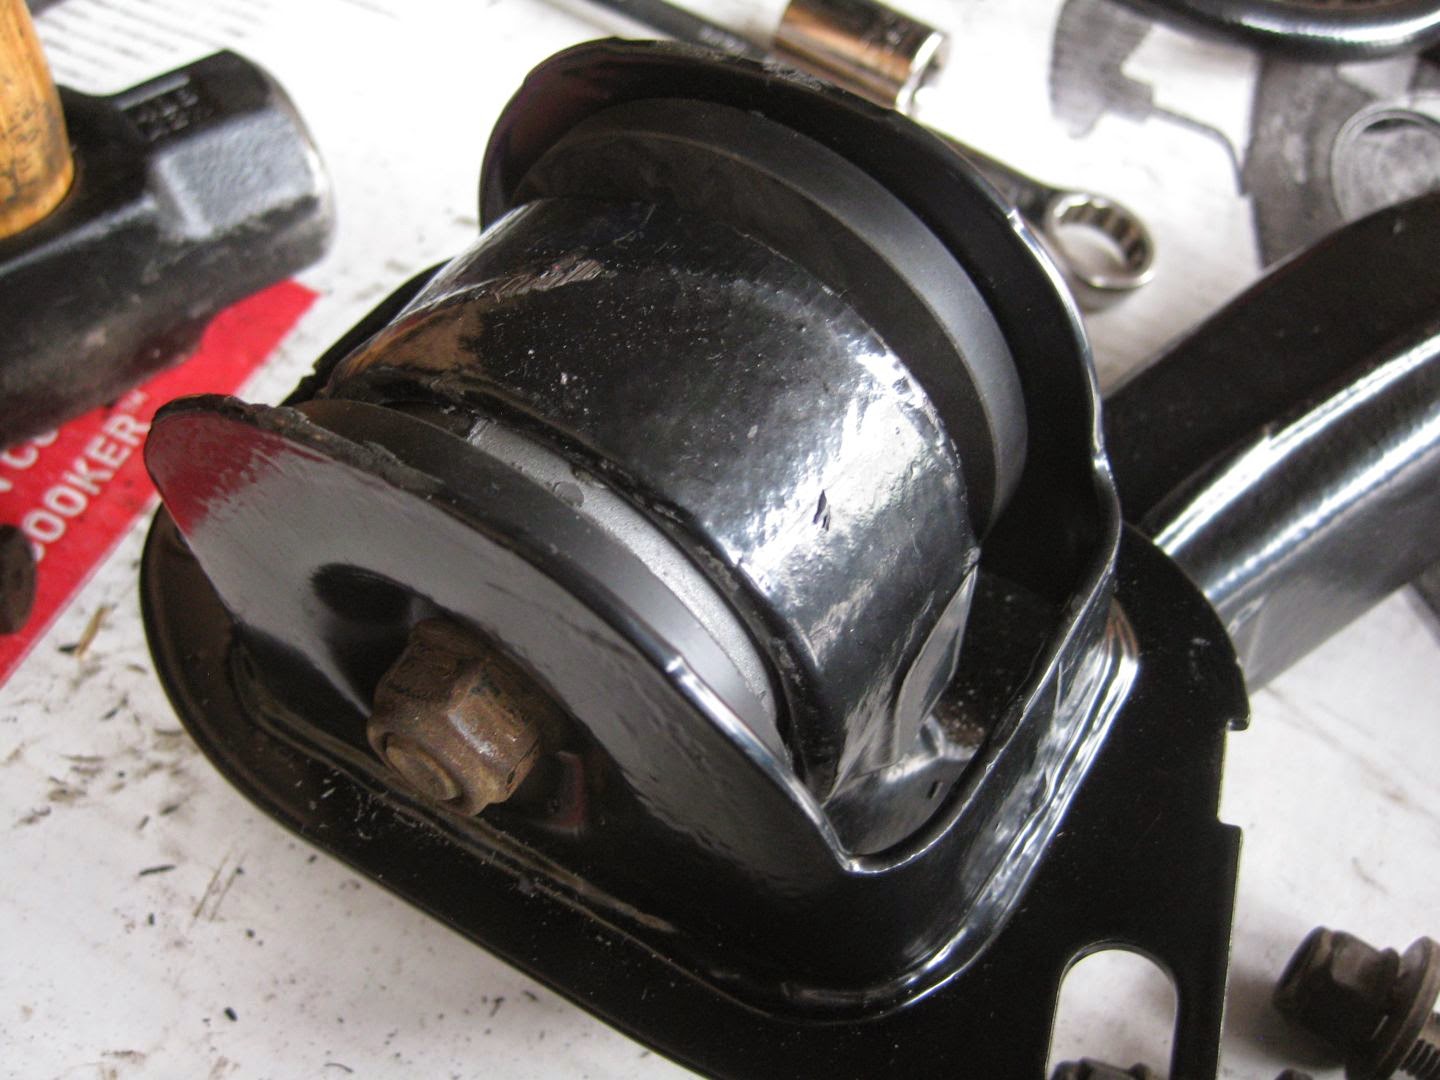
Cooling plate mocked up.

Devil dust boots....I would pay someone to do this next time. I mean if you think oh I'm just going to install brake cooling ducts and back plates this afternoon. Shit took all day. Routing, cutting etc.

I notched the reinforcement plate to ensure maximum camber. Some don't bother with it because Vorshlag has that ring. I see a lot of people keep the stock reinforcement plate. Shock towers are already a little stressed. I felt better keeping it.


I don't remember where I first saw this. I think if you google e36 m3 brake cooling backing plates it's the first thing that shows up. But take a hole saw. Cut a few holes then dremel between them can you can keep your stock ducts for a super clean look and installation! I like it.


The next thing I did was fit the little 3" flanges in the fender liner. The black hose is a little more flexible and does not have as high of a heat resistance. Which is fine because it's in the bumper. The orange stuff is rated to like 550F or something crazy. And the orange stuff DOES NOT like to bend.


I'm running PFC 01 right now. I can' be bothered to rotate this picture. Sorry.


Again here is your step by step tutorial on how to drill stock brake ducts.


Fucking sweet. Now my brakes won't boil the next time I'm at Streets of Willow in 115F heat. And here's the rest of the installation. Subframe all bushed up ready to get installed.

Don't forget to replace the font bolt of the diff. It's a common breaking point.


Another trick part. TMS rear camber arms. Solid race edition. Gotta have it.


For the trailing arm bushings I decided to go with e46 m3 Meyle HD and limiters. This seems to be everyones favorite choice. Poly in this location apparently binds and can rip out. It is a dual articulating joint so it shouldn't be solid. Everyone seems to agree on this.


TCK Konis going in on the back.

Everything is coming together! So excited at this point! 18 months of jack stands coming down to the next few hours. A torque wrench and some paint markers to mark as you go will go a long way at this point. If you see paint marks it's been torqued.

I kept the spring pad because these things just weren't meant to fit in there without them. I've read TCK themselves say these adjusters don't need the pads but the diameter only fits perfectly with the pads installed? I don't get it. I tried without pads then just put them in. I would like to try GC articulating jacks once I'm feeling like blowing more money.


Oh shit. This is where I looked for the sway bar and remembered I had new bushings for that too. Ahh so close, but time to do that now. Old vs new. It probably wasn't doing much. The rear sway on the e36 is not an upgrade area. A lot of people remove them entirely and beef up the front. New bushings was all I was going to do.


And there you have it. Next job clean gas tank.
Everything is a million times better than it was. Now comes the shake down. Which is still happening. I took it to the track shortly, well not shortly, probably like a few months later after getting an alignment, corner balance, smog, registration, oil change, spark plugs and a few other things just to get back on the road.
Impressions so far is that solid subframe is loud and it sounds like everything is broken. The car is super darty and twitchy. It won't snap, it's just new and firm and quick. The corner balancing and alignment helped tremendously. It was a little squirrely without first being setup. Consider you took the entire rear apart. The toe and camber were all off back there.
Doing these things takes a long time. You see the guys on the forum bust it out on a weekend. Well I guess if you have everything ready to go and help and experience. I really don't think I'll press bushings again if I don't have to. Getting all the different sockets and shapes to do the pressing is pretty difficult. I understand why it costs what it does. At the end of the day I'm super happy to have done it all myself just because I know it was done right and with attention to detail. Just takes for fucking ever! :)